Filling Out Metadata
Basic Steps
When the metadata instance opens, you can click in any field to start adding metadata.
To move to the next field, you can hit return (once or twice depending on the field type). In a few cases you may have to click in the next field.
In some cases (see the image below), the metadata instance may show elements as an outline, with their content hidden. To view and fill out metadata fields within those elements, click on the element header to show the element's contents.
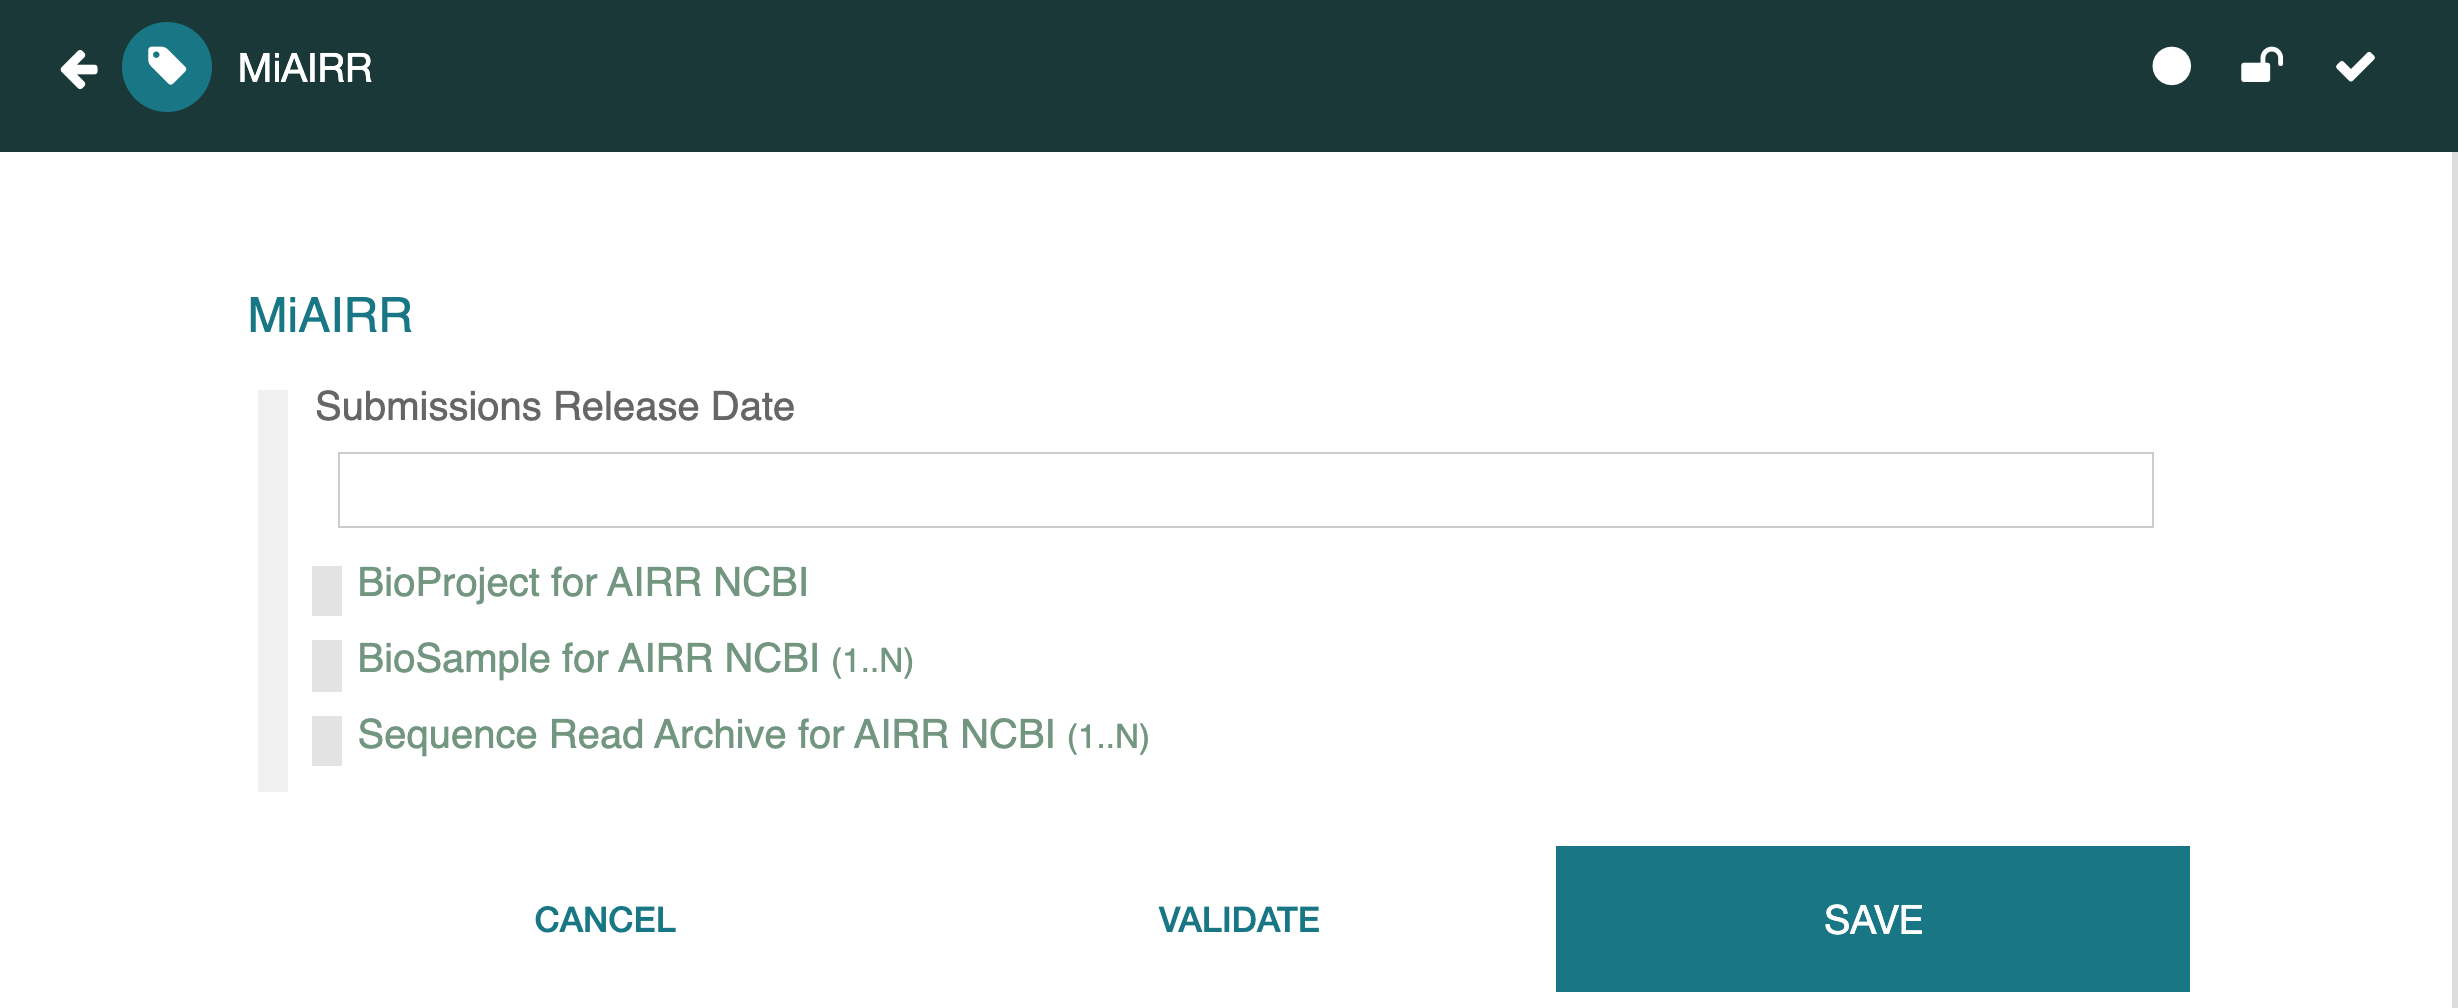
Your metadata is not saved until you hit the SAVE button, visible in the image above. You may have to scroll to the end of a long template to see the Save button in the lower right corner. We recommend you save your metadata often, so that little is lost if your browser window is accidentally closed. See Saving and Validating for more details.
Viewing JSON-LD and RDF
You can see the JSON-LD and RDF versions of your metadata by clicking on the appropriate controls at the bottom of your metadata instance. For more information see Viewing Resource as Raw JSON.
Multiple Fields
 Most of the field types can be enabled as "multiple" fields by the template creator.
If a field is set to multiple, you will see controls that let you add additional
values. Internally multiple fields are represented as an array of values.
Most of the field types can be enabled as "multiple" fields by the template creator.
If a field is set to multiple, you will see controls that let you add additional
values. Internally multiple fields are represented as an array of values.
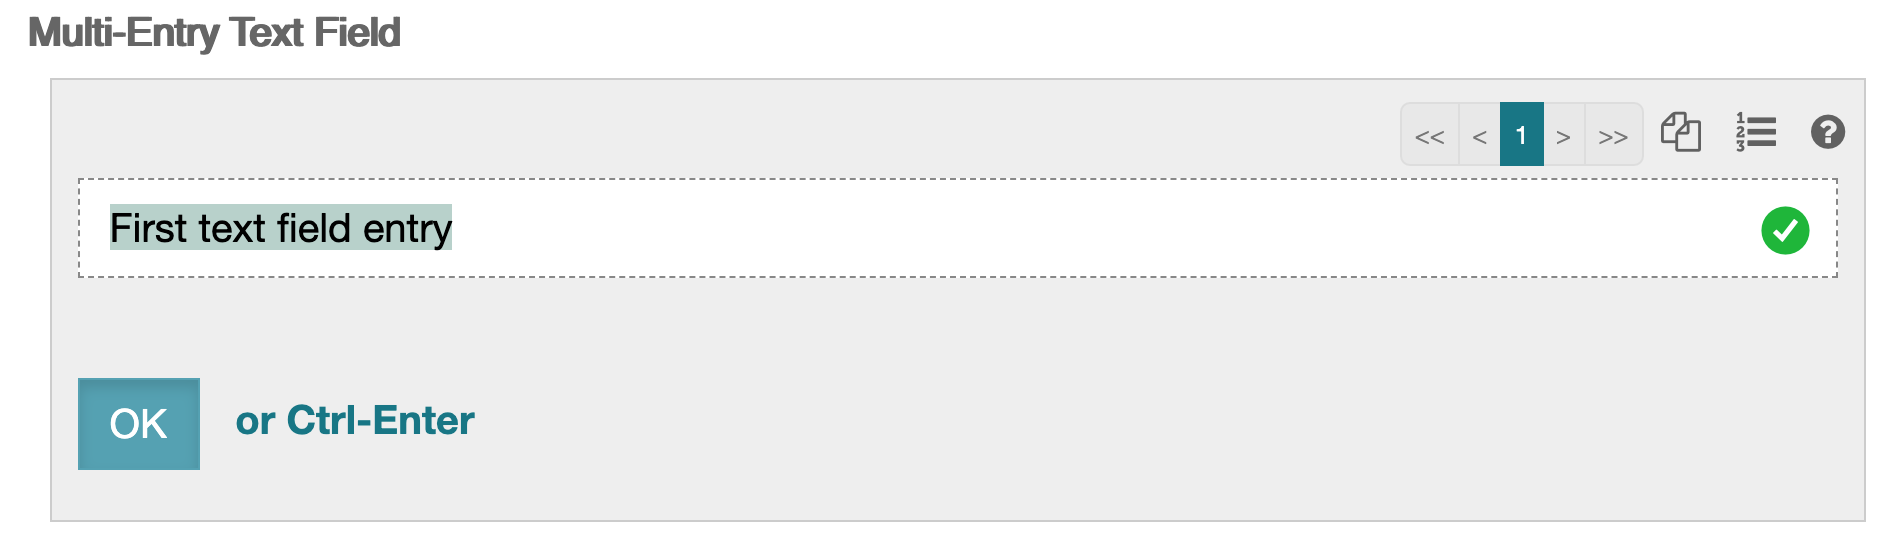
 From any field, you can click on the Copy icon (pointed to by black tip) to create another instance of the field. This instance makes a copy of the field value
that was in view when the Copy icon was selected,
and inserts that value after the original field.
From any field, you can click on the Copy icon (pointed to by black tip) to create another instance of the field. This instance makes a copy of the field value
that was in view when the Copy icon was selected,
and inserts that value after the original field.
 In our case, this results in a second field (third image), into which you can put the desired value for that field.
The numbers shown in the right-hand multiple fields controls are part of the array navigation controller, which lets the user navigate to any particular field item in the array of fields.
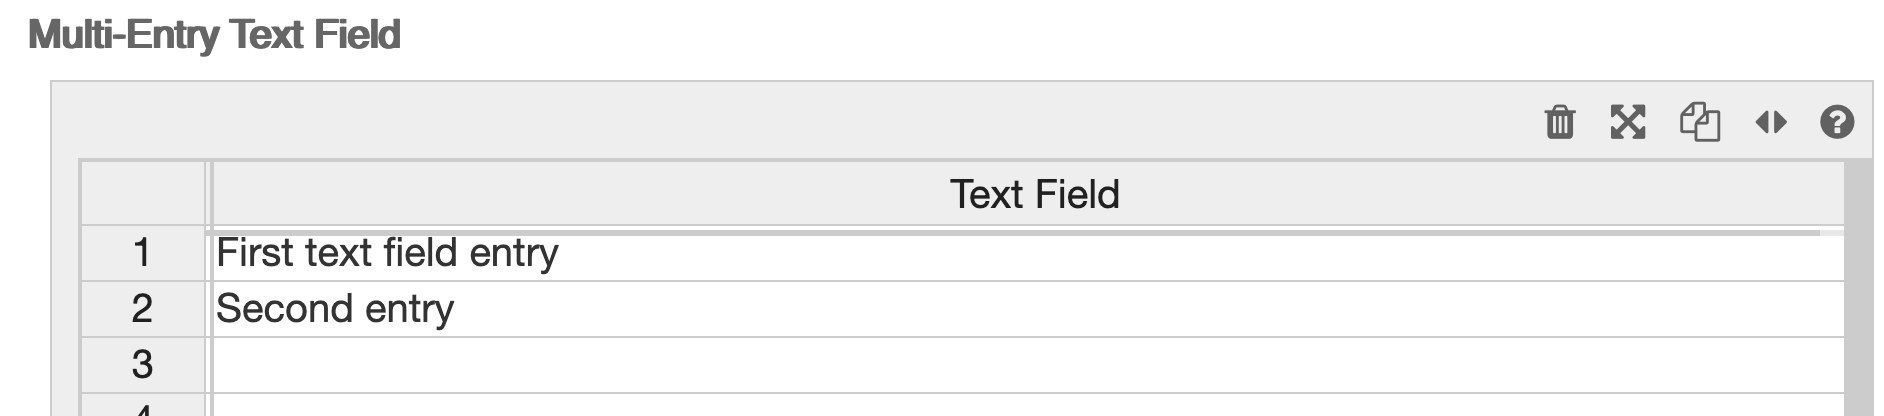 In many cases the field values can be viewed and edited in an array
using "spreadsheet view",
by clicking on the Format icon (which shows a 3-item bullet list in its regular view).
This results in the display to the right.
In many cases the field values can be viewed and edited in an array
using "spreadsheet view",
by clicking on the Format icon (which shows a 3-item bullet list in its regular view).
This results in the display to the right.
If you click on the format icon again (now shown as two opposed arrows), you will return to the list view. Any changes made in one viewing mode will be reflected in the other.
Multiple Elements
CEDAR elements can also be enabled as "multiple" entry items, allowing users to fill out a set of metadata multiple times.
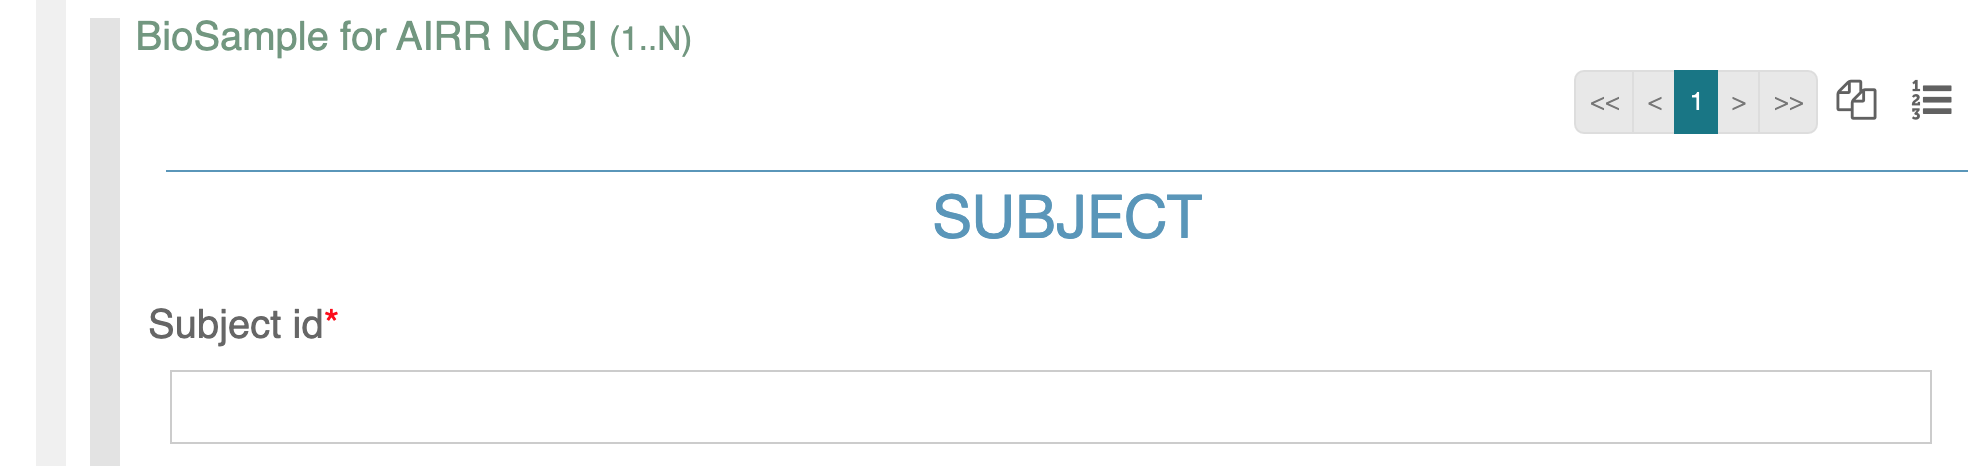
A CEDAR element that is enabled for multiple entries
looks like the following (note the controls on the right side of the Element header):
The process of filling out multiple elements is the same as described for fields above, with one exception. The format control that enables filling out arrays ("spreadsheet view") is only visible if the element just contains simple fields. If the element contains other elements or fields that allow MULTIPLE entries, viewing and editing it as an array is not possible. See the Spreadsheet-compatible Elements subsection of Adding Elements to learn how to set up this feature.
CEDAR's spreadsheet view of arrays automatically performs validation and auto-completion of controlled term lists, and supports cutting and pasting of sub-tables of information anywhere in the spreadsheet.
You can copy and paste from an Excel, Numbers, or Google spreadsheet into the spreadsheet view in CEDAR.
Note that while CEDAR does not support the import of spreadsheet data or direct ingestion of CSV-formatted values, such data could be transformed from its CSV-based form into an array structure within the CEDAR Instance (following the required syntax of an appropriately structured Template), then imported into CEDAR.
Advanced Tips for Fields
For certain types of metadata, some tips may be useful.
Multiple free-text fields
If you are entering multiple free-text fields, these are stored as values in an array.
The user interface presents all the entries at once, separated by commas.

To see the exact contents of each field, click on the field to enable editing, which brings up the array navigation controller.
Drop-down fields
Drop-down fields indicate a set of terms, which are often controlled terms from one or more ontologies. In many cases, there are hundred, thousands, or even hundreds of thousands of controlled terms for a field.
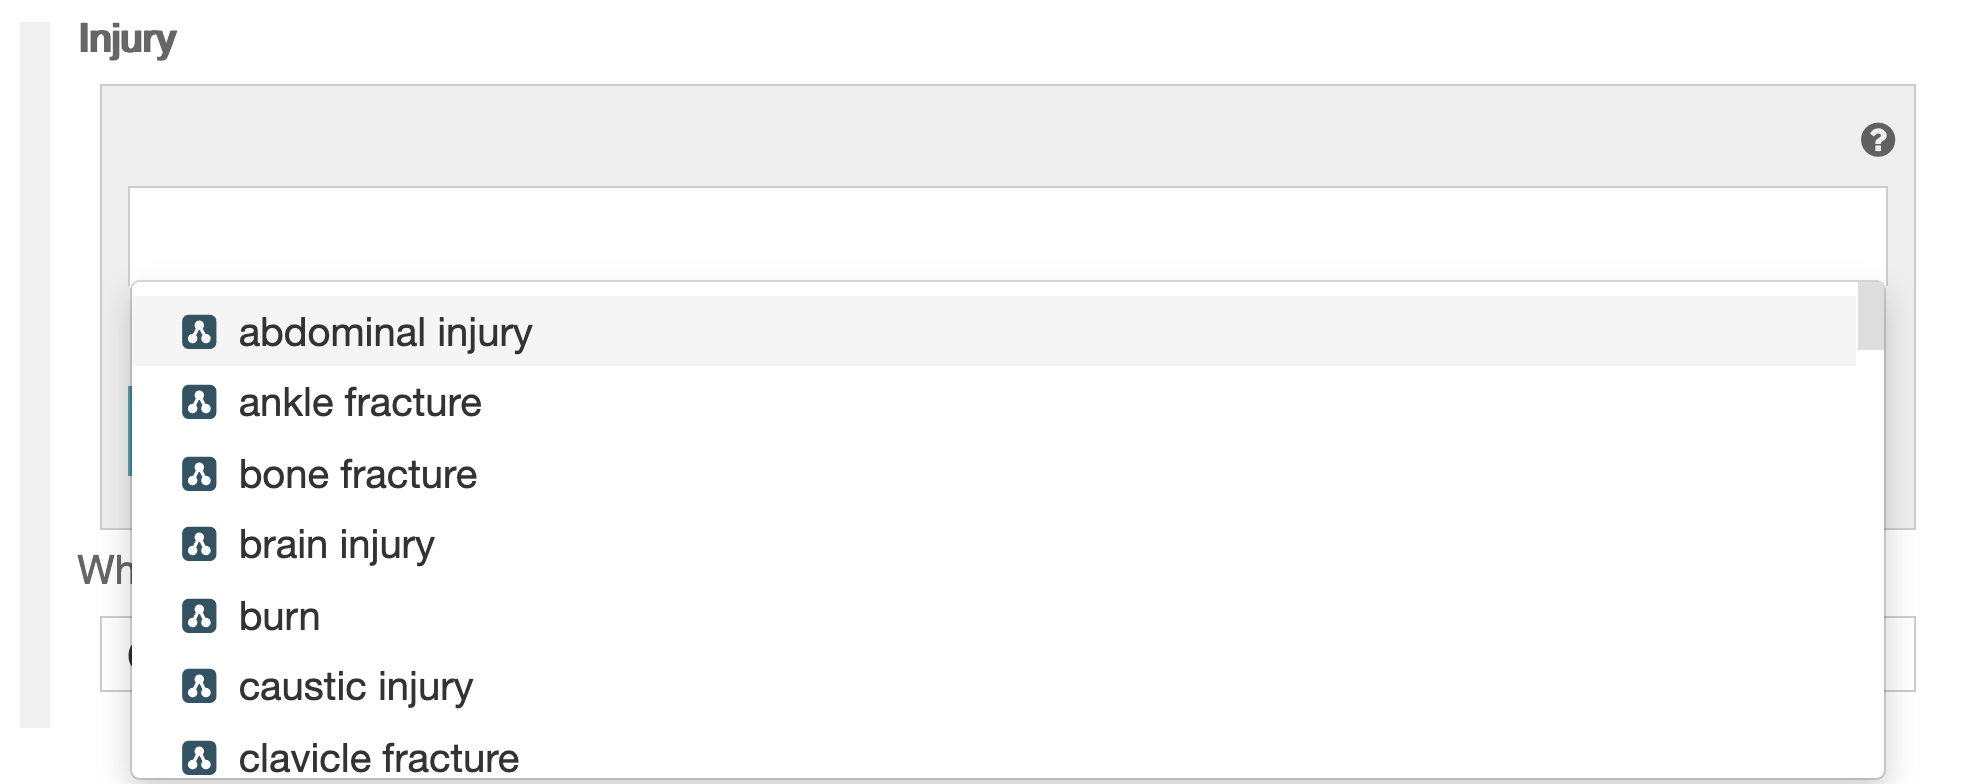 The drop-down menu can not display all these terms, so it presents examples from throughout the list of possible terms.
To see only those terms that might be relevant,
you must begin entering the appropriate term (or some string from within it).
The drop-down menu can not display all these terms, so it presents examples from throughout the list of possible terms.
To see only those terms that might be relevant,
you must begin entering the appropriate term (or some string from within it).
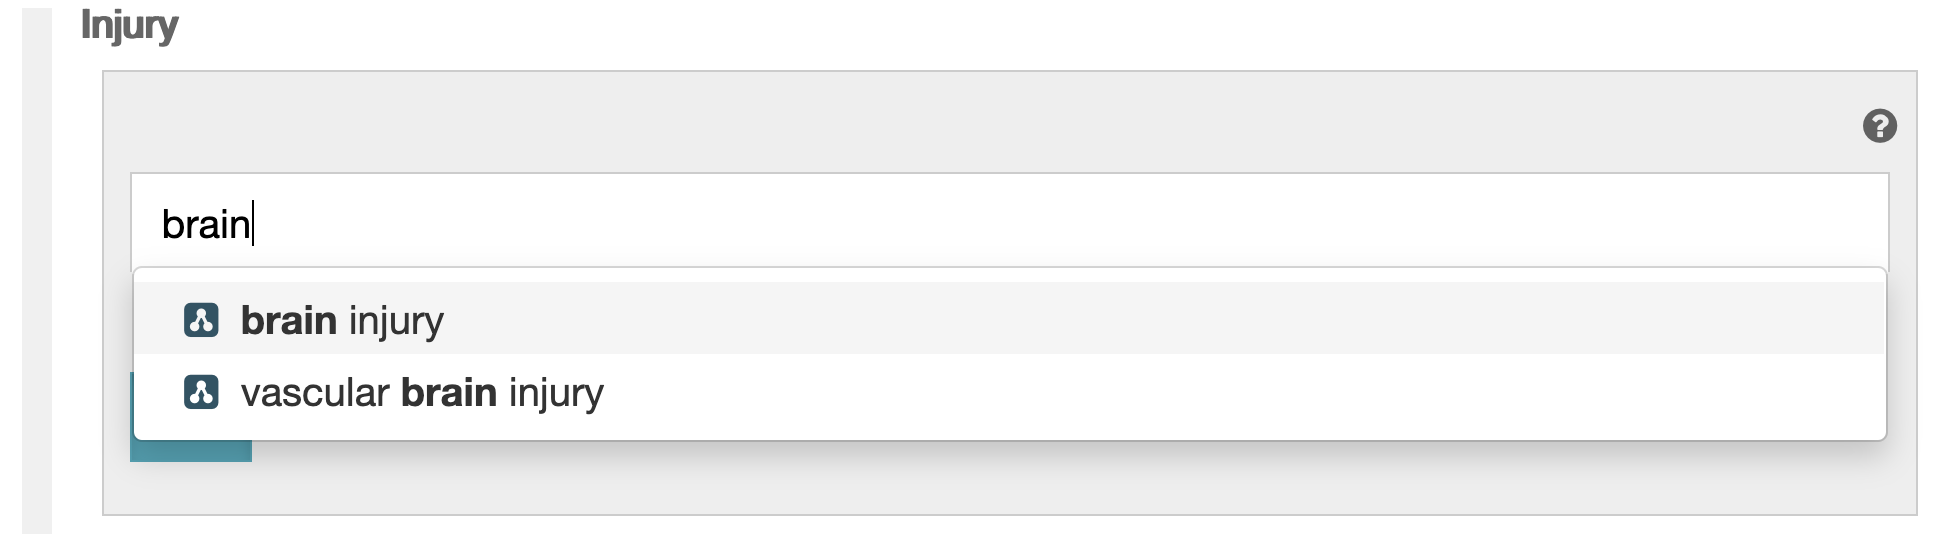 Immediately (within a second or two after you stop typing),
you will see a list of term labels that contain the string you've entered.
(See example at right.)
You can either pick the term you want by clicking on it,
or return to the field to continue entering a search string.
Immediately (within a second or two after you stop typing),
you will see a list of term labels that contain the string you've entered.
(See example at right.)
You can either pick the term you want by clicking on it,
or return to the field to continue entering a search string.
Note that synonyms are not considered when looking for matches, so it may help to know whether the vocabulary contains, for example, 'human' or 'homo sapiens' as the label for humans.
Field suggestions
In some cases a field may be enabled for Suggestions. In this case,
you may see some entries that appear (out of alphabetic order)
at the top of the list, with numbers in the range 50-100.
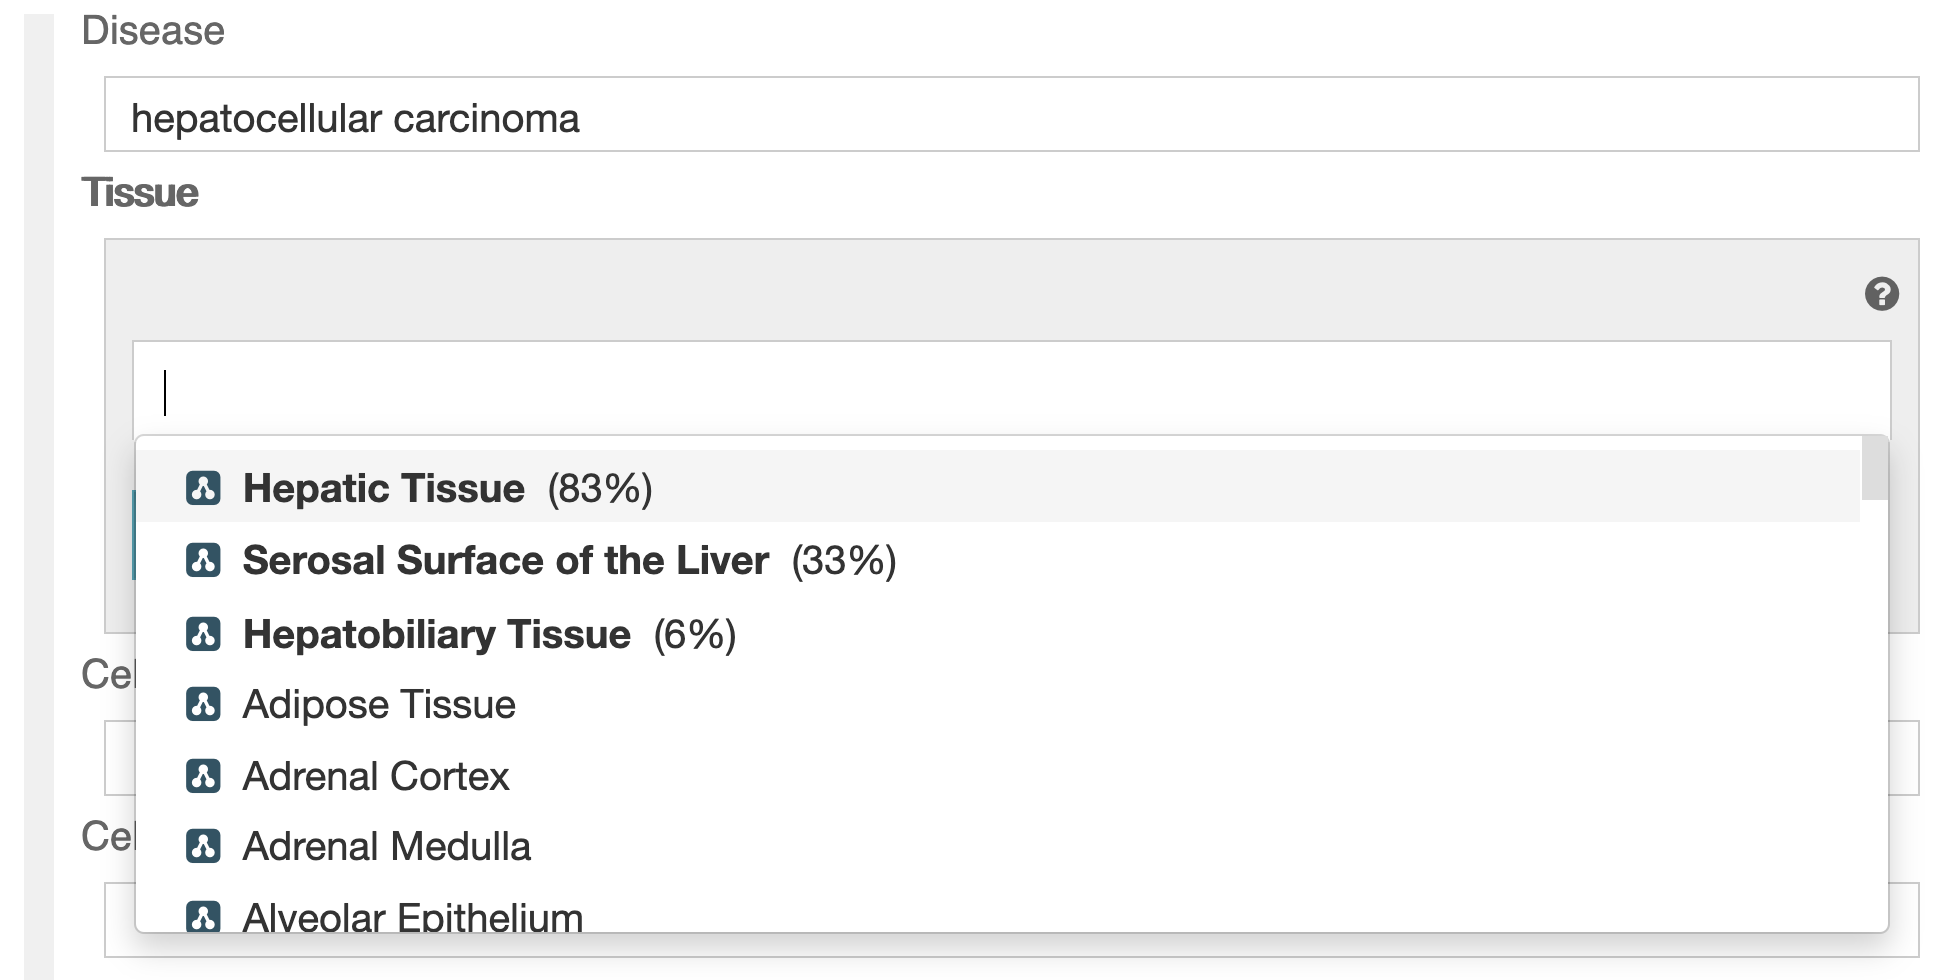 These fields are suggestions, and the numbers represent
the strength of the suggestion. (To be explicit, the numbers are not
the likelihood of the particular value.) To choose a suggested item,
simply click on it.
These fields are suggestions, and the numbers represent
the strength of the suggestion. (To be explicit, the numbers are not
the likelihood of the particular value.) To choose a suggested item,
simply click on it.
The suggestions are based on an intelligent authoring algorithm in CEDAR that considers previously entered metadata for the given template, and creates rules based on frequently occurring patterns in that metadata. If there are any patterns in your entered metadata that suggest what answers may be appropriate in the current field, CEDAR will make the most likely answers visible to you as the suggested values we describe here (and show below).
More details about the suggestion system in CEDAR may be found at Understanding the Suggestion System.
Attribute-value fields
Some forms give users the ability to add their own attributes, for example,
to add metadata about certain attributes that are not in the form.
An attribute-value field looks like the following:
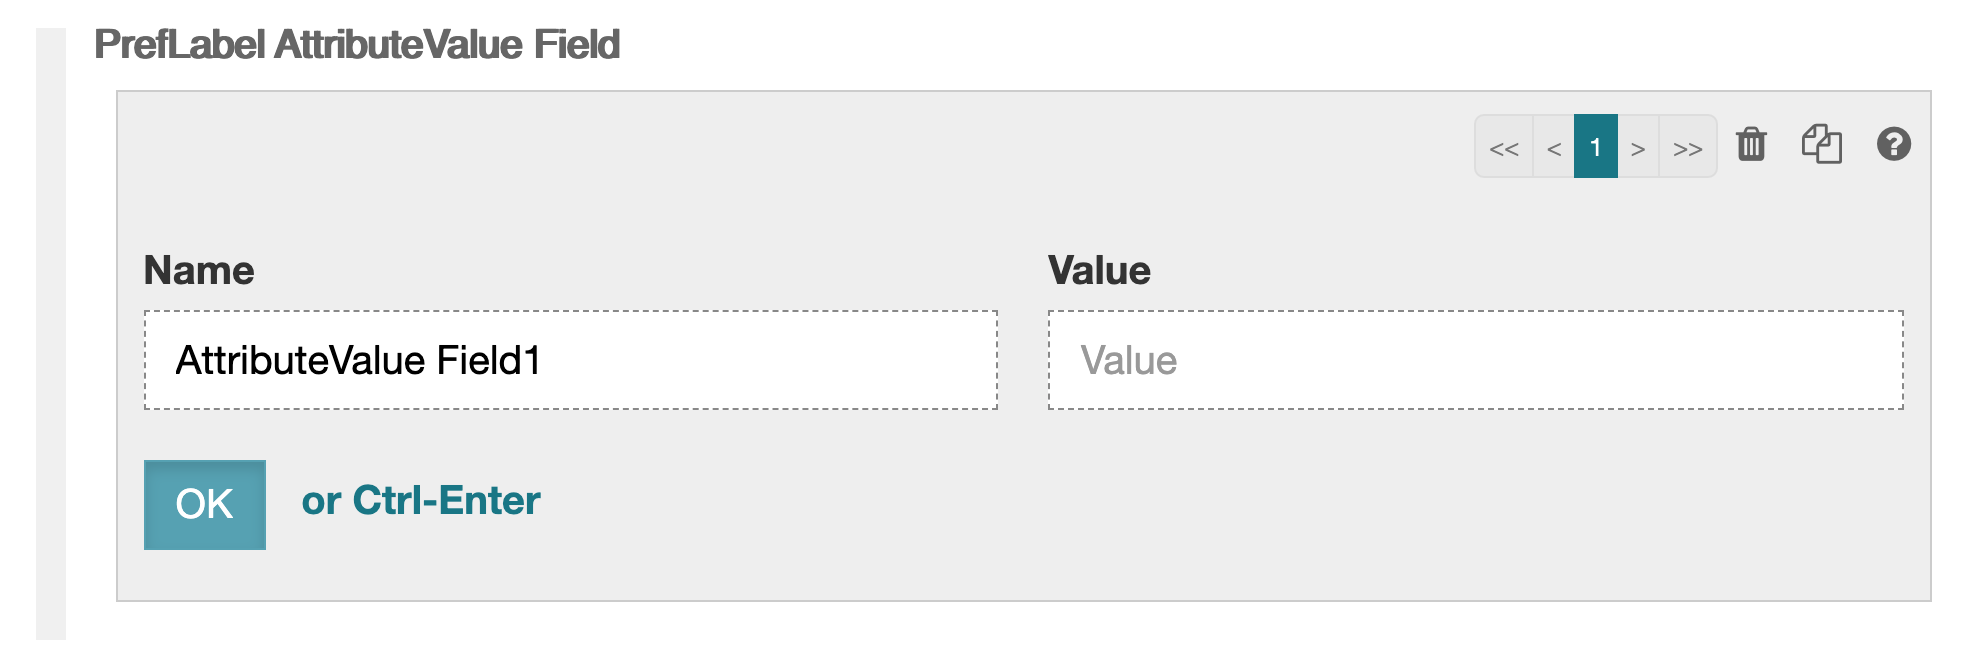
In an attribute-value field, you get to enter both the name of the field, the corresponding value, which is always free text. Often any number of attribute-value fields may be added, but the template creator may limit the maximum number for a given form.