Use Case: Importing templates
This page covers the basics of importing caDSR Form Builder forms into the CEDAR Workbench.
- Introduction
- Step-by-step guide: import a template
- Step 1 - Export form(s) to XML format
- Step 2 - Navigate to your workspace
- Step 3 - Select XML files for import
- Step 4 - Perform an import
- Step 5 - Look over the import report
- Step 6 - View the imported template
- Editing imported templates
Introduction
{: #intro}
NCI's Form Builder allows users to build forms that contain modules with questions. Before diving into the details of how these forms are imported into the CEDAR Workbench, it may be helpful to review the following high-level tips on application terminology and the import process:
- Forms are referred to as "templates" in the CEDAR Workbench.
- During import, modules are converted to "sections", i.e., forms with modules become templates with sections.
- Form customizations are preserved during import, with the exception of permissible value labels. For example, if you modify the Question Text associated with a question, that modification will be reflected in the CEDAR Workbench after import. However, any modifications made to the labels for permissible values are discarded.
- Ordering of the questions inside modules is preserved during import.
- The CEDAR Workbench only handles CDEs with statuses of released. Questions associated with CDEs that don't have a released status will be discarded during import, and will not appear in the resulting template.
Each of these bullet points is discussed in more detail in the step-by-step guide that follows.
Import a template step-by-step
This section of the documenation will walk you through the mechanical steps of importing a template into the CEDAR Workbench.
Step 1 - Export your form(s) to XML format
The CEDAR Workbench allows users to import forms in XML format. For any given form that you want to import into the CEDAR Workbench, you first need to use the Form Builder application to export the form to XML format.
On this documenation page, we plan to use the form with a public ID of 3918956 (Diagnosis Gross Pathology NCI Standard Template) as an example.
Navigate to the Form Builder application, locate form 3918956, and download the XML format version of the form. If you need instructions for downloading forms in XML format, please refer to this section of the Form Builder User Guide.
Step 2 - Go to your Workspace
Navigate to the CEDAR Workbench and make sure you're logged in. If you need help creating an account and logging in, see the Accounts and Logging In section of this guide.
Click the Workspace link in the upper-left portion of the window to start out in your personal workspace.
Step 3 - Select XML files for import
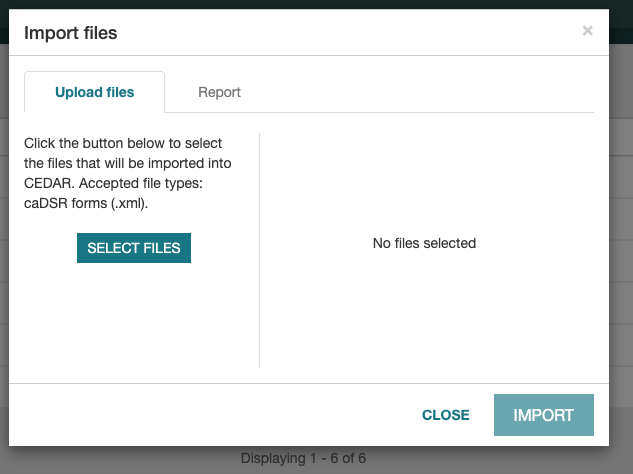
Click on the "New +" button in the upper-left portion of the window, and select "Import" from the resulting dropdown menu.
This will launch the "Import files" modal dialog where you can select XML files for import:
Click the Select Files button and select the XML file for form 3918956 that you exported in a previous step. This will put the XML file in the right-hand pane of the dialog that lists XML files ready for import:
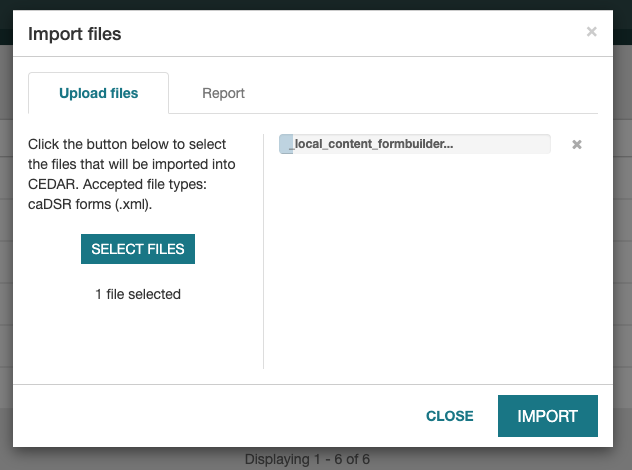
Note: The CEDAR Workbench allows you to import multiple XML files at a time. If desired, you can continue selecting XML files for import, which will be displayed in list format in the right-hand pane until such time that you proceed with clicking the Import button.
Step 4 - Perform the import
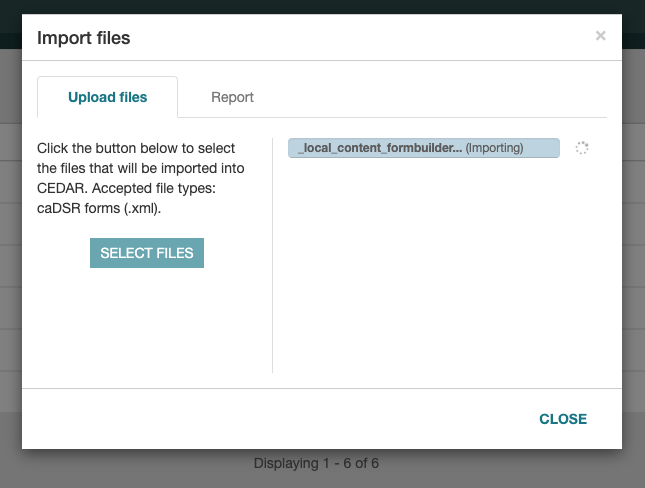
Click the Import button in the Import files dialog to begin the import process. The dialog will show a progress bar while the import is performed:
During import, the CEDAR Workbench converts each module to a section, i.e.:
Original Form Builder form structure
|-- Form
|   |-- Module
|   |-- Module
|   |-- Module
Resulting CEDAR Workbench template structure
|-- Template
|   |-- Section
|   |-- Section
|   |-- Section
Once the import is complete, the dialog will show a completion message:

Step 5 - Examine the import report
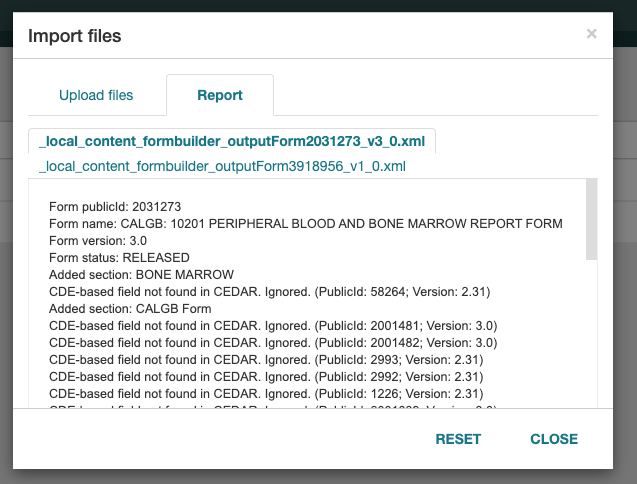
This step is optional, but helpful if you want to be aware of any issues encoutered during an import process. After template import is complete, the Report tab displays a detailed log of the import process that typically includes:
- Form metadata, e.g., the public ID, name, version, and status
- Addition of sections
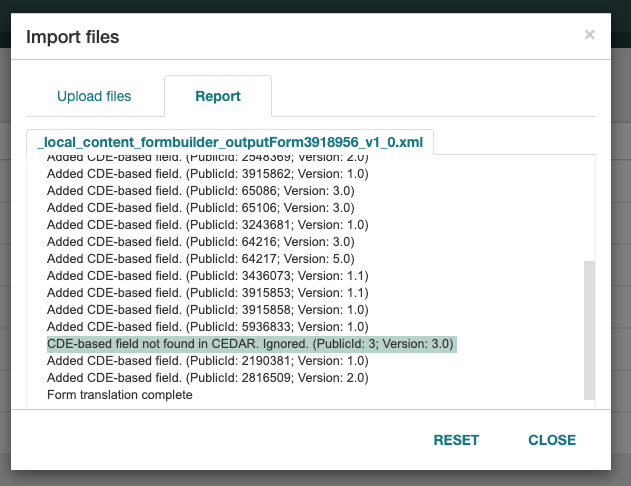
- Addition of CDEs into sections, including the CDE public ID and version
The following screenshot shows the log from importing form 3918956 in the previous step with addition of a section with CDEs highlighted:

Note: The CEDAR Workbench only handles CDEs with released statuses. If you build a form in the Form Builder application that contains questions associated with CDEs that don't have a released status, these CDEs will be dropped from the template during the import process. You may want to pay special attention to lines in the import report that indicate removal of CDEs from templates, e.g.:
If you import multiple XML files at once, the Report tab will contain a set of subtabs where each subtab contains the log output for a single XML file. The following screenshot shows the Report tab after the import of two XML files:
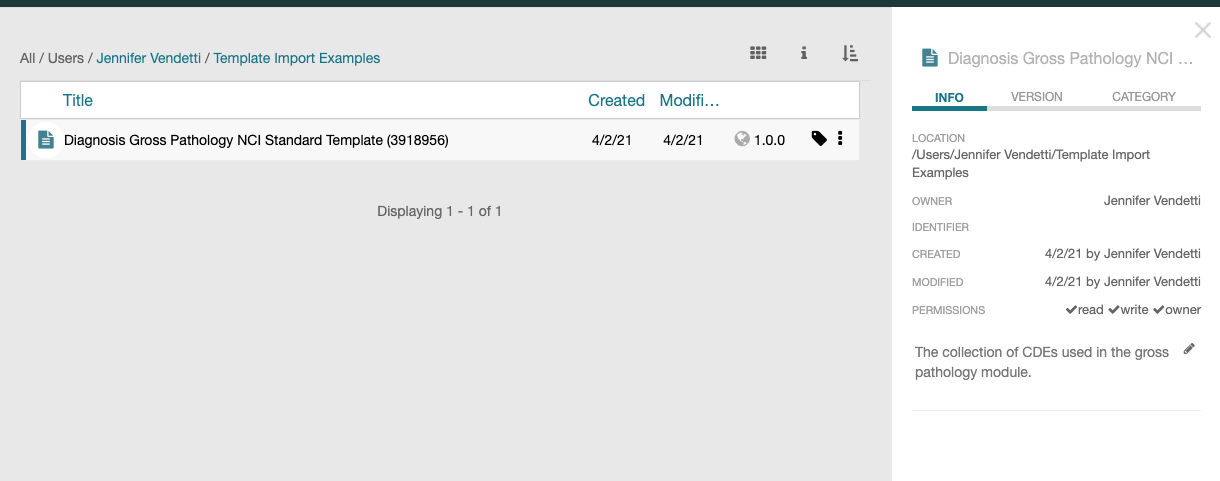
Step 6 - View the imported template
After optionally reviewing the import report, click the Close button to dismiss the Import files dialog box. The newly imported template will now be visible in your workspace. The template title is created by concatenating the form's Long Name and Public ID in parenthesis. If you select the template and click the Details button (lowercase 'i' in the upper right), a details pane will be displayed with additional information about the template, e.g., description, location, persmissions, etc.:
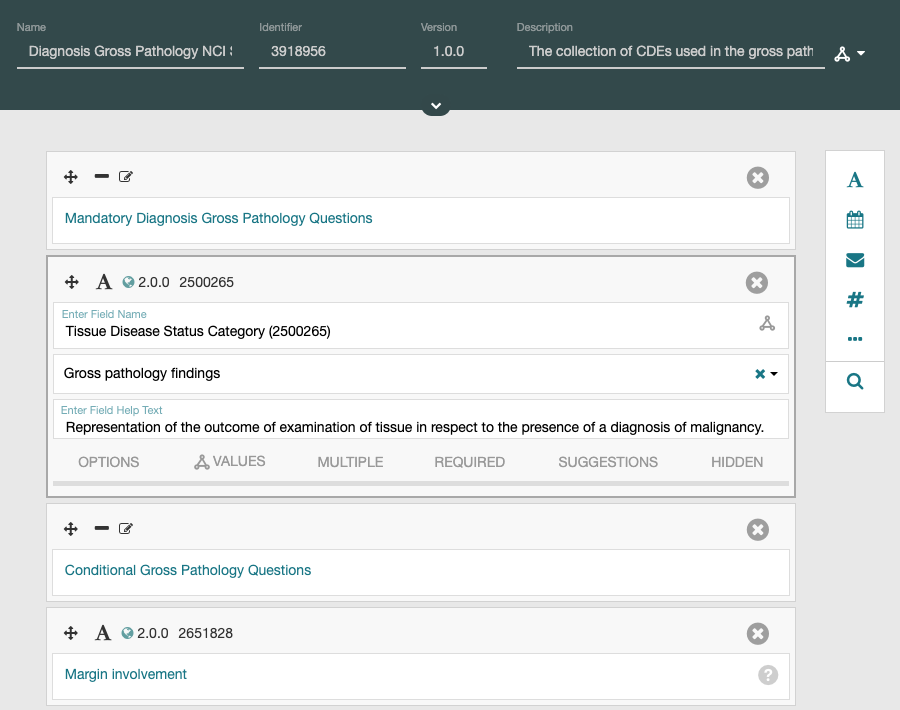
To view the contents of the template, double-click on the template in your workspace to open the template designer view. Each artifact will be listed in a collapsed format. To examine sections and fields, click anywhere in the header bars to expand the contents:
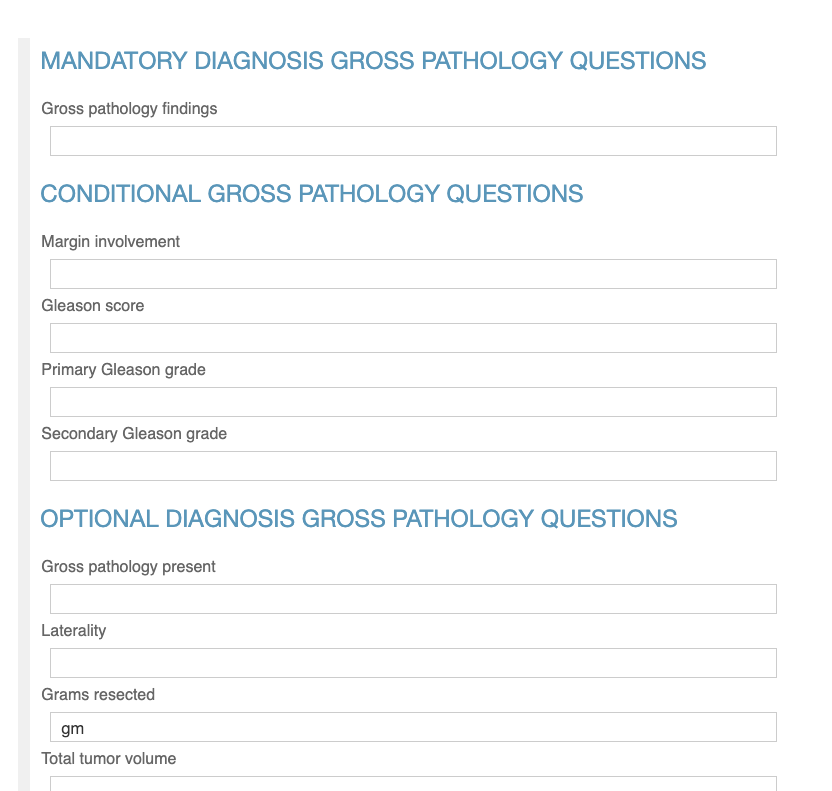
It is also possible to create instances of templates so that you can see what they will look like to end users that need to populate the templates with data. Exit the template designer view by clicking the back arrow in the upper left corner of the window. Click the Populate button next to any imported template to open the metadata editor, which allows you to populate an instance of your template with values:
Editing imported templates
When forms are imported into the CEDAR Workbench, the resulting templates are assigned a status of "published":

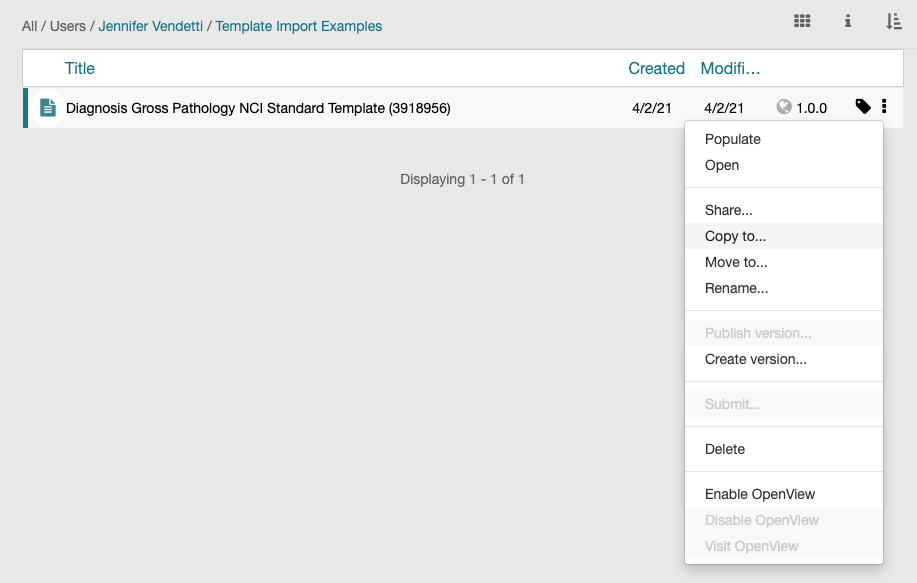
Published templates are unmodifiable. If you wish to make changes to an imported template, you first need to make a copy of the template. Click the More menu (three vertical dots), select Copy to..., and save a copy of the template to a location of your choice.
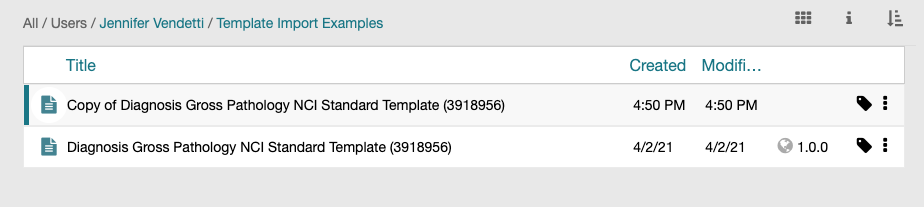
The copied template will not have a published status and will allow you to make any desired modifications:
If you need general instructions for editing templates, please refer to the following sections of the user guide: